Epoxy Floor Crack Repair in Basements
When it comes to basement flooring, epoxy is a popular choice due to its durability, aesthetic appeal, and resistance to moisture. However, even the most robust epoxy floors can develop cracks over time. Understanding how to effectively repair these cracks is essential for maintaining the integrity and appearance of your basement. This comprehensive guide will cover everything you need to know about epoxy floor crack repair in basements, from identifying the causes of cracks to the step-by-step repair process.
Understanding Epoxy Flooring
What is Epoxy Flooring?
Epoxy flooring is a type of flooring made from a combination of resin and hardener, which creates a durable and long-lasting surface. This flooring option is commonly used in basements because it can withstand heavy traffic, resist stains, and repel moisture. The seamless nature of epoxy flooring also makes it easy to clean, which is a significant advantage for homeowners.
Why Choose Epoxy for Basement Floors?
There are several compelling reasons to choose epoxy flooring for your basement:
Durability: Epoxy floors are known for their strength and longevity. They can handle heavy loads and resist damage from impact, making them ideal for high-traffic areas.
Moisture Resistance: Basements are often prone to moisture issues. Epoxy flooring is impervious to water, preventing mold and mildew growth.
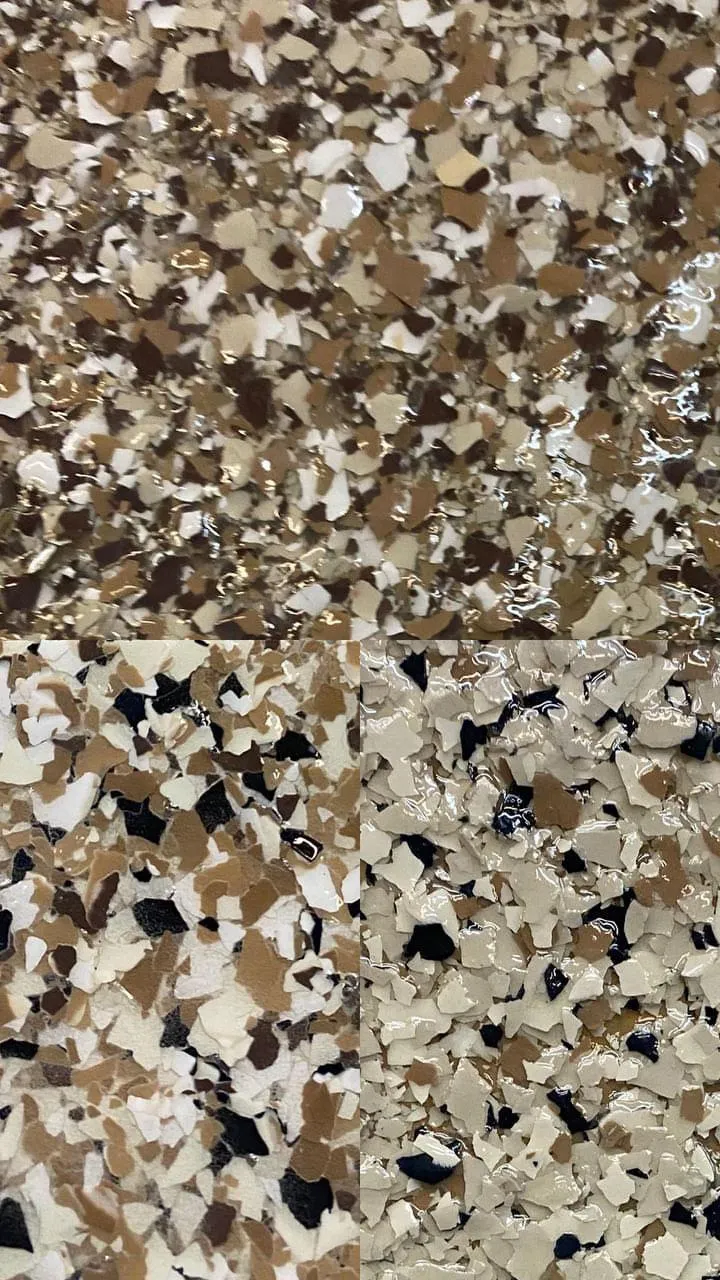
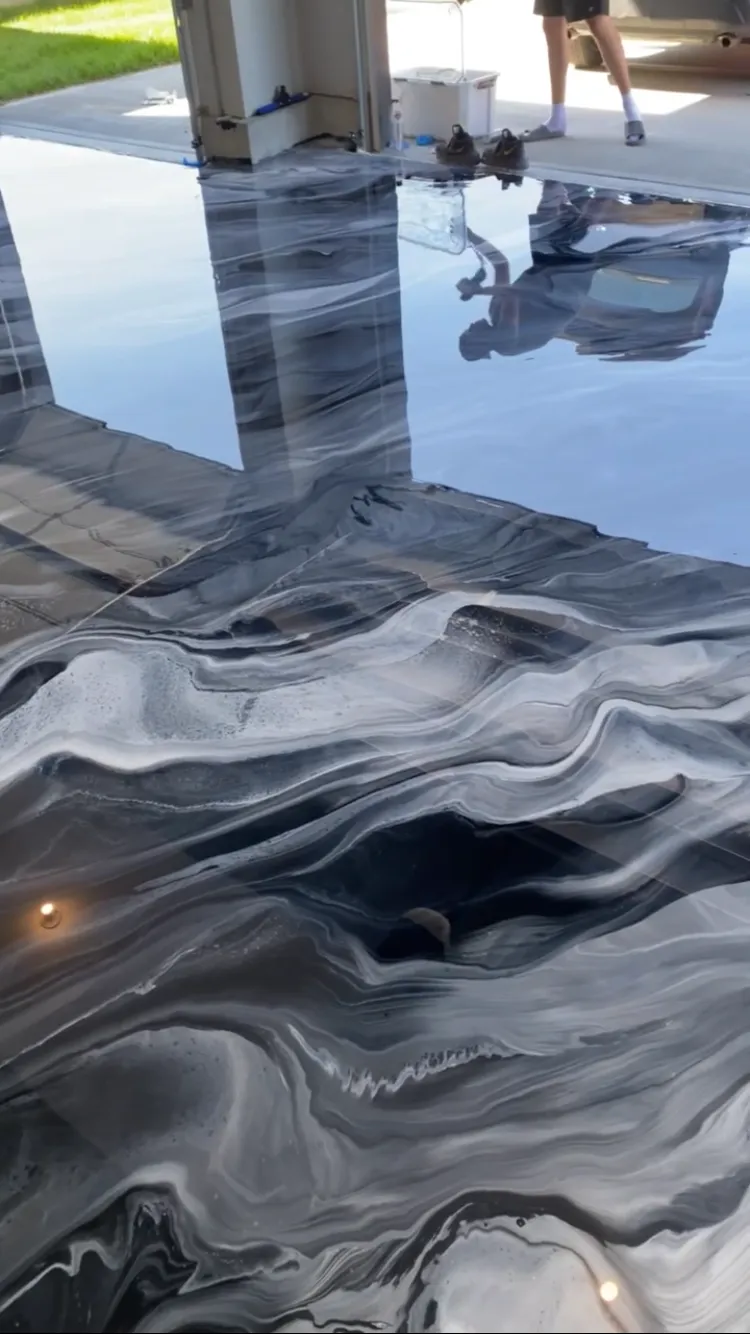
Aesthetic Appeal: Epoxy flooring comes in various colors and finishes, allowing homeowners to customize their basement's appearance. From glossy finishes to decorative flakes, the options are virtually limitless.
Cost-Effectiveness: While the initial installation cost may be higher than other flooring options, the durability and low maintenance of epoxy flooring make it a cost-effective choice in the long run.
Common Causes of Cracks in Basement Epoxy Floors
Environmental Factors
Several environmental factors can lead to cracks in epoxy floors. One of the most significant contributors is moisture. Basements are naturally damp areas, and high humidity levels can cause the concrete beneath the epoxy to expand and contract, leading to cracks. Additionally, temperature fluctuations can cause the epoxy to shrink or expand, resulting in stress fractures.
Structural Issues
Cracks can also arise from structural problems within the home. For example, if the foundation of the house settles or shifts, it can create pressure on the basement floor, leading to cracks. Poor installation practices, such as inadequate surface preparation or the use of low-quality materials, can also contribute to cracking.
Wear and Tear Over Time
Over time, even the most durable epoxy floors can show signs of wear and tear. Heavy foot traffic, the movement of furniture, and impact from dropped objects can all result in cracks. Chemical spills, such as oil or cleaning agents, can also weaken the epoxy, making it more susceptible to damage.
Identifying Cracks in Epoxy Floors
Types of Cracks
Understanding the different types of cracks can help you determine the best repair method.
Hairline Cracks: These are very thin cracks that typically do not extend deep into the epoxy. They are often caused by minor surface stress and can usually be repaired easily.
Larger Cracks: These cracks are wider and may indicate more significant underlying issues. They require a more thorough repair process.
Vertical vs. Horizontal Cracks: Vertical cracks may indicate foundation movement, while horizontal cracks can be a sign of pressure from the soil outside.
How to Inspect Your Basement Floor
To inspect your basement floor for cracks, follow these steps:
Visual Inspection: Look for any visible cracks in the epoxy surface. Use a flashlight to illuminate darker areas.
Feel for Irregularities: Run your hand over the surface to feel for any irregularities or raised areas.
Use a Measuring Tool: For larger cracks, use a ruler or measuring tape to determine their width and depth.
The Epoxy Floor Crack Repair Process
Preparing for Repair
Before you begin the repair process, it’s essential to prepare the area properly. Start by cleaning the area around the crack. Use a vacuum or a broom to remove any dust, debris, or loose epoxy. If there is any moisture present, allow the area to dry completely before proceeding.
Choosing the Right Epoxy Repair Product
Selecting the right epoxy repair product is crucial for a successful repair. There are various epoxy repair kits available on the market, each designed for specific types of cracks. When choosing a product, consider the following factors:
Type of Crack: Ensure the product is suitable for the size and type of crack you are repairing.
Application Method: Some products come in a tube for easy application, while others may require mixing.
Curing Time: Check the curing time to ensure it fits your schedule.
Step-by-Step Repair Guide
Repairing Hairline Cracks
Clean the Crack: Use a wire brush to clean out the crack and remove any loose material.
Apply Epoxy: Using a small applicator or a putty knife, apply the epoxy filler into the crack. Ensure it fills the crack completely.
Smooth the Surface: Use the putty knife to smooth the surface of the epoxy, ensuring it is level with the surrounding area.
Allow to Cure: Follow the manufacturer's instructions for curing time before walking on the repaired area.
Repairing Larger Cracks
Widen the Crack: Use a chisel to widen the crack slightly, creating a V-shape. This will help the epoxy adhere better.
Clean the Area: Remove any dust and debris from the crack.
Mix the Epoxy: If using a two-part epoxy, mix the resin and hardener according to the instructions.
Fill the Crack: Pour the mixed epoxy into the crack, ensuring it fills completely.
Level the Surface: Use a trowel to level the surface of the epoxy.
Cure and Finish: Allow the repair to cure as per the manufacturer's instructions. Once cured, you can sand the surface if necessary for a smooth finish.
Preventing Future Cracks in Epoxy Floors
Regular Maintenance Tips
To extend the life of your epoxy flooring and prevent future cracks, consider the following maintenance tips:
Routine Inspections: Regularly check your basement floor for any signs of cracks or damage.
Cleaning: Keep the floor clean by sweeping and mopping regularly to remove dirt and debris.
Sealing: Apply a protective sealant to the epoxy surface to enhance its durability and resistance to stains.
Addressing Underlying Issues
If you notice recurring cracks, it may be time to address underlying issues. Here are some steps you can take:
Manage Moisture Levels: Use dehumidifiers to reduce humidity in your basement. Consider installing a sump pump if water intrusion is a frequent issue.
Consult a Professional: If you suspect structural issues, consult a foundation specialist to assess the situation and recommend appropriate solutions.
Conclusion
In conclusion, understanding how to perform epoxy floor crack repair in basements is essential for maintaining the integrity and appearance of your flooring. By recognizing the common causes of cracks, knowing how to identify them, and following a step-by-step repair process, you can effectively address any issues that arise. Regular maintenance and addressing underlying problems will help prevent future cracks, ensuring your epoxy flooring remains beautiful and durable for years to come.
Additional Resources
For more information on epoxy flooring and related topics, check out these articles:
If you need professional assistance with your epoxy flooring, don't hesitate to contact Onyx Luxury Epoxy for expert help. Your basement deserves the best!


