Preparing Basement Floors for Epoxy Application: A Comprehensive Guide
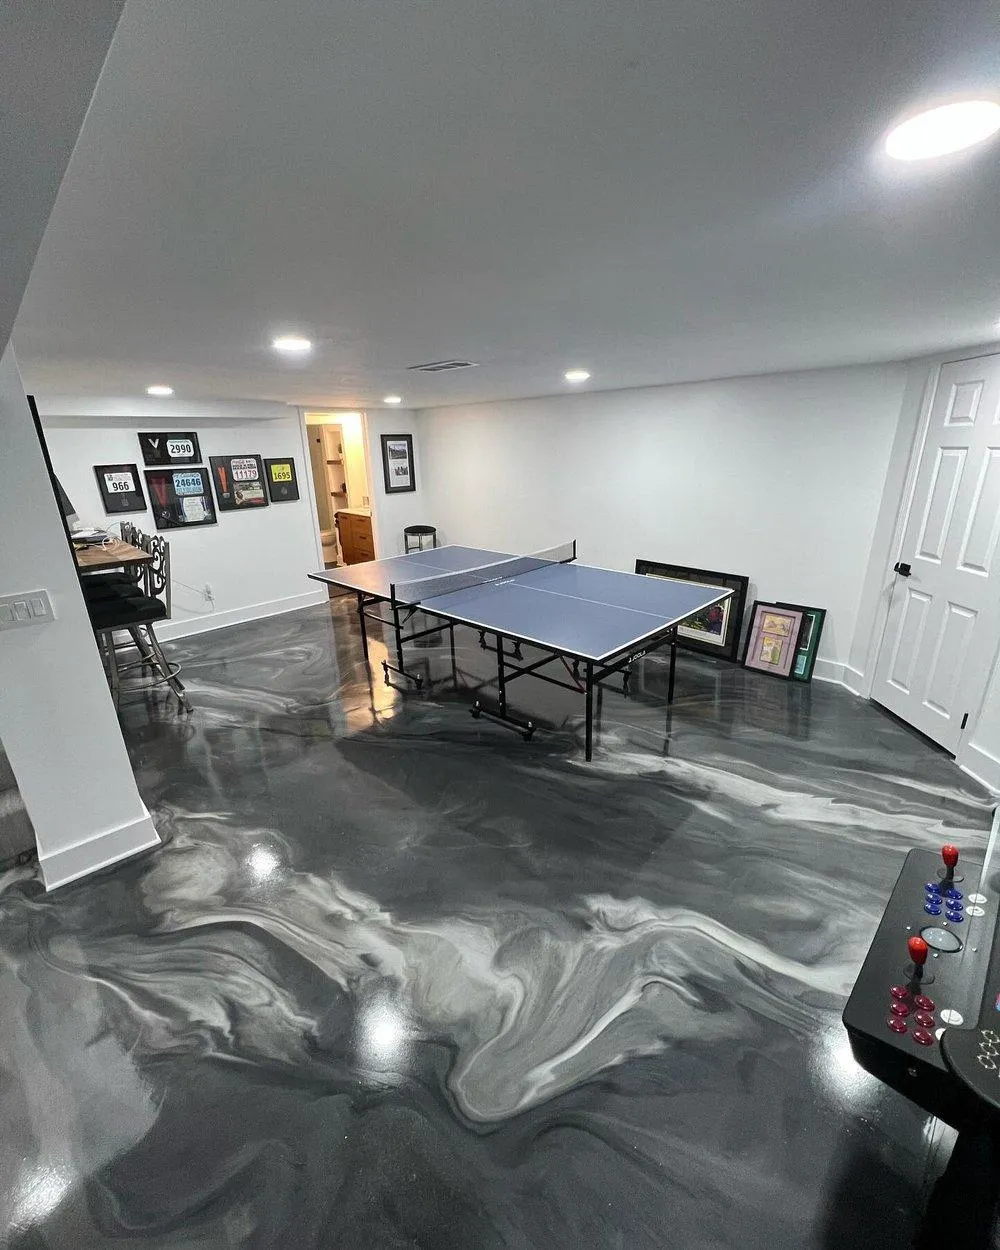
When it comes to enhancing the functionality and aesthetics of your basement, epoxy flooring stands out as a popular choice. Known for its durability, moisture resistance, and sleek appearance, epoxy can transform your basement into a stylish and practical space. However, before you can enjoy the benefits of epoxy flooring, it’s crucial to ensure that your basement floors are properly prepared for epoxy application. This guide will walk you through the essential steps and considerations involved in preparing basement floors for epoxy application, ensuring a successful and long-lasting result.
Understanding Epoxy Flooring
What is Epoxy Flooring?
Epoxy flooring is a type of synthetic resin that, when combined with a hardener, forms a durable and resilient surface. It consists of a base resin and a hardener that, when mixed, undergo a chemical reaction to create a solid, tough layer. This flooring option is particularly well-suited for basements due to its ability to withstand moisture and heavy foot traffic.
There are several types of epoxy flooring systems available, including:
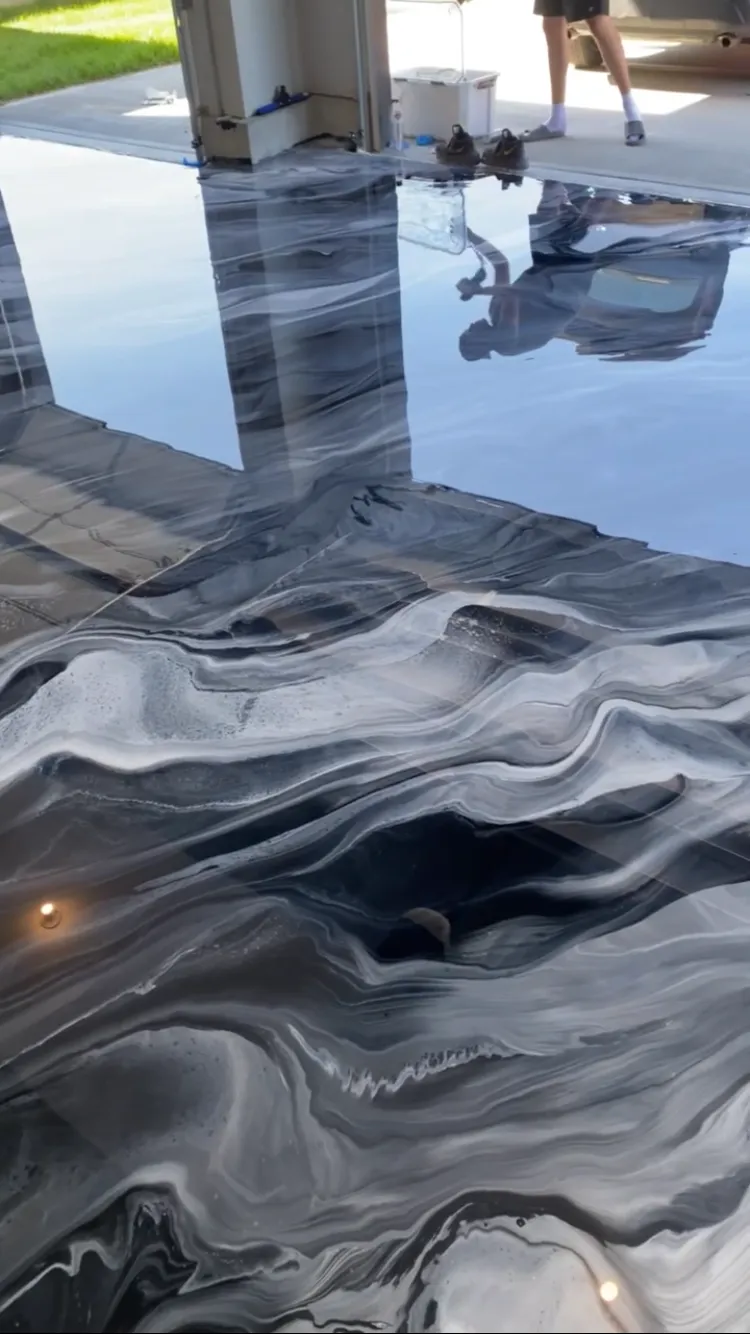
Self-Leveling Epoxy: Ideal for creating a smooth, even surface over existing concrete.
Epoxy Mortar: A mix of epoxy resin and mortar, perfect for areas that require high durability.
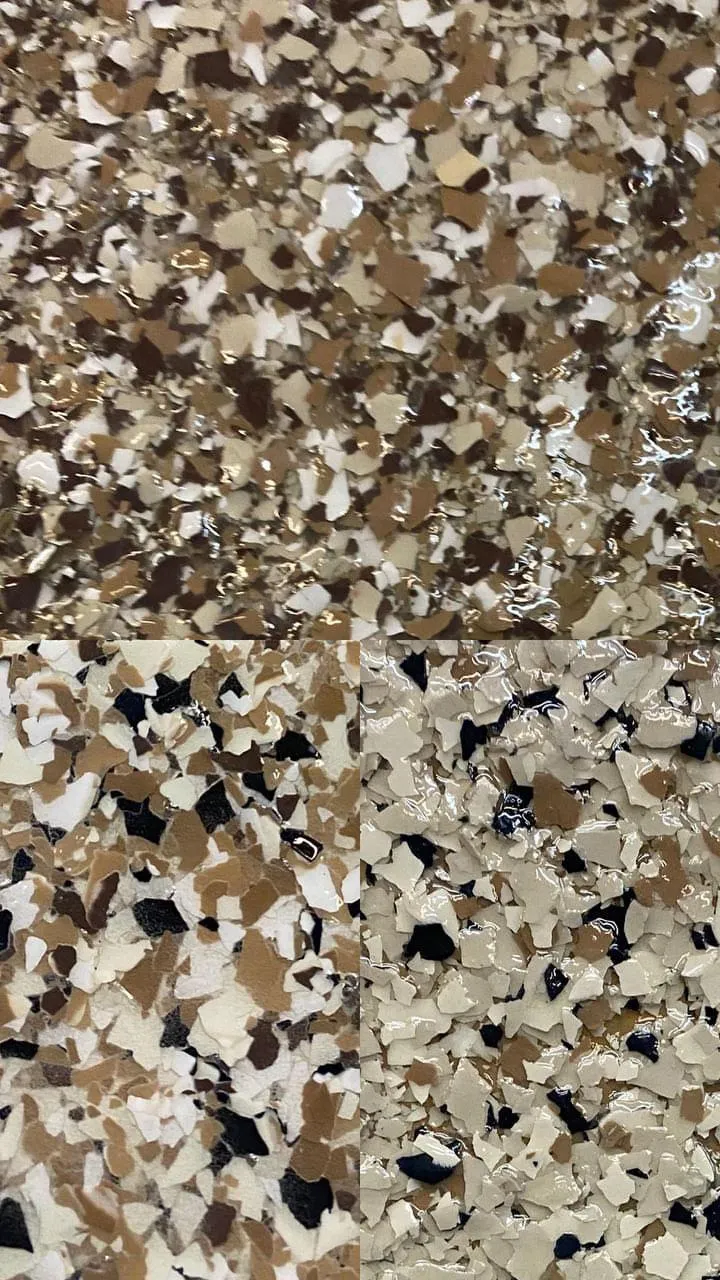
Flake Epoxy: Features decorative flakes that add texture and color, enhancing the visual appeal.
Benefits of Epoxy Flooring in Basements
Choosing epoxy flooring for your basement comes with numerous advantages:
Durability: Epoxy is highly resistant to wear and tear, making it perfect for high-traffic areas.
Moisture Resistance: Unlike traditional flooring, epoxy does not absorb moisture, preventing mold and mildew growth.
Easy Maintenance: Cleaning epoxy floors is a breeze; a simple mop and mild detergent are often all that’s needed.
Aesthetic Appeal: With various colors and finishes available, epoxy can elevate the look of your basement, making it more inviting.
Why Proper Preparation is Crucial
Common Issues with Poorly Prepared Floors
Proper preparation of your basement floor is essential for a successful epoxy application. Failing to adequately prepare the surface can lead to several issues, including:
Peeling and Bubbling: If the surface is not clean or properly prepped, the epoxy may not adhere correctly, resulting in peeling or bubbling.
Poor Adhesion and Durability: Inadequate preparation can compromise the bond between the epoxy and the floor, leading to premature wear and tear.
Increased Maintenance and Repair Costs: A poorly applied epoxy floor may require costly repairs or complete replacement, negating any initial savings.
By taking the time to prepare your basement floor properly, you can avoid these pitfalls and ensure a beautiful, long-lasting epoxy finish.
Assessing Your Basement Floor
Evaluating Floor Condition
Before you begin the preparation process, it’s essential to assess the condition of your basement floor. Look for signs of damage or wear, such as:
Cracks: Small cracks can be repaired, but larger ones may require more extensive work.
Moisture: Signs of moisture, such as efflorescence (white powdery residue), indicate potential issues that need addressing.
Stains: Oil or chemical stains can impede adhesion and should be cleaned thoroughly.
Measuring Moisture Levels
Moisture is one of the most critical factors to consider when preparing basement floors for epoxy application. High moisture levels can prevent proper adhesion and lead to failure of the epoxy coating. To measure moisture levels, you can use a moisture meter, which provides accurate readings of the moisture content in your concrete.
Acceptable moisture levels for epoxy application typically range from 3% to 5%. If your readings exceed this range, you may need to take additional steps to mitigate moisture issues, such as installing a vapor barrier or using a moisture-resistant epoxy.
Steps for Preparing Basement Floors for Epoxy Application
Step 1: Cleaning the Floor
The first step in preparing your basement floor is thorough cleaning. A clean surface is vital for ensuring proper adhesion of the epoxy. Follow these steps for effective cleaning:
Sweep the Floor: Remove dust, dirt, and debris using a broom or vacuum.
Mop the Surface: Use a mop and warm water to clean the floor. For stubborn stains, consider using a degreaser or concrete cleaner.
Rinse: After cleaning, rinse the floor with clean water to remove any residue from cleaning products.
Step 2: Repairing Damages
Once the floor is clean, inspect it for any damages that need repair. Common issues include cracks, holes, and pitting. Here’s how to address these problems:
Filling Cracks and Holes: Use an epoxy filler or concrete patch to fill in any cracks or holes. Follow the manufacturer’s instructions for application and curing times.
Smoothing Pitted Areas: For pitted surfaces, consider using a self-leveling compound to create a smooth and even surface.
Step 3: Grinding or Etching the Surface
To ensure optimal adhesion, the surface of the concrete must be properly prepared. This can be achieved through grinding or etching:
Grinding: Use a concrete grinder to remove any old coatings and create a rough surface for better adhesion. This method is effective for heavily worn floors.
Etching: If grinding is not feasible, you can use an acid-based etching solution to prepare the surface. Follow safety precautions and manufacturer instructions when using etching solutions.
Step 4: Applying a Primer (if necessary)
In some cases, applying a primer before the epoxy can enhance adhesion, especially if the concrete is porous or has been previously coated. Choose a primer compatible with the epoxy you plan to use and follow the application guidelines.
Final Preparations Before Application
Ensuring Proper Ventilation
Ventilation is crucial during the epoxy application process. Proper airflow helps to dissipate fumes and ensures that the epoxy cures correctly. Here are some tips for improving ventilation in your basement:
Open Windows and Doors: If possible, open windows and doors to create cross-ventilation.
Use Fans: Position fans to circulate air and promote airflow throughout the space.
Temperature and Humidity Considerations
The ideal conditions for epoxy application typically range from 60°F to 90°F (15°C to 32°C) with humidity levels below 70%. High humidity or low temperatures can affect the curing process and overall performance of the epoxy. Monitor the temperature and humidity levels using a hygrometer, and consider using heaters or dehumidifiers if necessary.
Frequently Asked Questions (FAQs)
How long does it take to prepare basement floors for epoxy application?
The time required for preparation can vary significantly based on the condition of the floor and the extent of repairs needed. Generally, you can expect the preparation process to take anywhere from a few hours to a couple of days. If your floor is in relatively good condition, with only minor cleaning and repairs required, the process might be completed within a single day. However, if there are significant cracks, stains, or moisture issues, it could take longer. For instance, filling and curing cracks or holes with epoxy filler can take several hours to a day. Additionally, grinding or etching the surface to ensure proper adhesion can also be time-consuming. Moisture mitigation measures, such as installing a vapor barrier or addressing high moisture levels, can further extend the preparation time. Proper planning and scheduling are essential to ensure that each step is completed thoroughly for optimal results.
Can I apply epoxy over existing flooring?
While it’s possible to apply epoxy over certain types of existing flooring, it’s generally recommended to remove old flooring materials for the best results. Epoxy requires a clean, solid, and properly prepared surface to adhere effectively. If the existing flooring is in poor condition, such as being loose, cracked, or uneven, it can compromise the epoxy’s adhesion and durability. Removing old flooring materials, like carpet, vinyl, or laminate, helps to expose the underlying concrete, allowing for thorough cleaning, repair, and surface preparation. This ensures that any contaminants, oils, or residues that could hinder the epoxy application are removed. Additionally, assessing the condition of the concrete substrate is crucial to address any potential moisture issues or structural problems before applying the epoxy. Ensuring a proper bond between the epoxy and the concrete will enhance the longevity and performance of the flooring system.
What tools do I need for preparing basement floors?
Preparing basement floors for epoxy application requires a variety of tools to ensure thorough cleaning, repair, and surface preparation. Essential tools include a broom and vacuum to remove dust, dirt, and debris, and a mop and bucket for cleaning the surface with water and, if necessary, a degreaser or concrete cleaner. For addressing surface imperfections, a concrete grinder or an acid-based etching solution is needed to create a rough surface that promotes epoxy adhesion. Additionally, epoxy filler or concrete patch is used to fill cracks, holes, and pitted areas, ensuring a smooth and even surface. Applying a primer may be necessary for enhancing adhesion, especially on porous or previously coated concrete, so having a compatible primer is important. Lastly, a moisture meter is essential for measuring the moisture content in the concrete to ensure it is within acceptable levels for epoxy application. Properly using these tools will result in a well-prepared floor ready for a durable epoxy finish.
How do I know if my basement floor is suitable for epoxy?
To determine if your basement floor is suitable for epoxy, you need to assess its condition, measure moisture levels, and ensure cleanliness. Start by inspecting the floor for cracks, holes, stains, and signs of moisture, such as efflorescence (white powdery residue). Small cracks can be repaired with epoxy filler, while larger ones may require more extensive repairs. Next, measure the moisture content using a moisture meter. Epoxy application typically requires moisture levels between 3% and 5%. If the readings exceed this range, you may need to install a vapor barrier or use a moisture-resistant epoxy. Additionally, ensure the floor is clean and free of debris, oils, and other contaminants that could affect adhesion. Sweep, vacuum, and mop the floor thoroughly, and consider grinding or etching the surface for optimal adhesion. If you have concerns about the floor’s condition or suitability, consulting with a professional can provide additional guidance and ensure the best results.
Conclusion
Preparing basement floors for epoxy application is a critical step that can significantly impact the final result. By following the outlined steps and addressing common issues, you can ensure a successful and long-lasting epoxy finish. Remember, proper preparation not only enhances the aesthetics of your basement but also contributes to the durability and functionality of the flooring. If you’re unsure about any aspect of the preparation process, don’t hesitate to seek professional assistance for optimal results.
Additional Resources
Related Articles
The Ultimate Guide to Epoxy Flooring: Cost, Installation, and Benefits
Frequently Asked Questions About Epoxy Garage Floor Coatings
Contact Information
For professional epoxy flooring services or to learn more about preparing your basement floors, feel free to reach out to us. Our team is here to help you transform your space with elegance and durability.


