Preparing Your Garage for Epoxy Coating
Epoxy coating is a fantastic way to enhance the durability and appearance of your garage floor. However, the key to a successful epoxy application lies in the preparation. Properly preparing your garage floor ensures that the epoxy adheres well, lasts longer, and looks great. In this comprehensive guide, we will walk you through the steps to properly prepare your garage floor for epoxy coating application, including the tools and materials you'll need, common mistakes to avoid, and answers to frequently asked questions.
Why Proper Preparation Is Crucial for Epoxy Coating
Ensuring Adhesion
Proper preparation is essential for ensuring that the epoxy coating bonds well with the concrete surface. Without thorough preparation, the epoxy may not adhere correctly, leading to peeling, bubbling, and other issues. This can result in a shorter lifespan for the coating and a less attractive finish. By taking the time to prepare the surface properly, you can avoid these problems and ensure a strong bond between the epoxy and the concrete.
Longevity of the Coating
The longevity of your epoxy coating is directly related to how well the surface is prepared. A well-prepared surface allows the epoxy to penetrate and bond with the concrete, creating a durable and long-lasting finish. In contrast, poor preparation can lead to premature wear and tear, requiring more frequent reapplications. Proper preparation can extend the life of your epoxy coating, saving you time and money in the long run.
Aesthetic Appeal
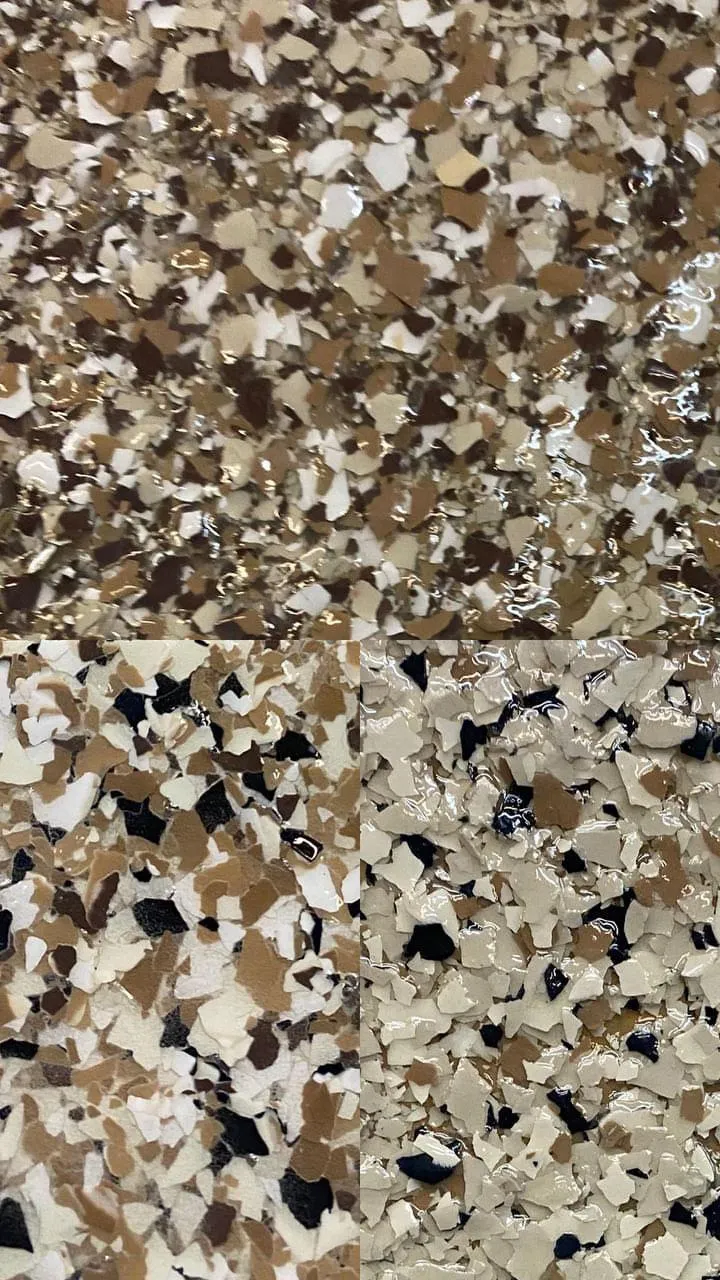
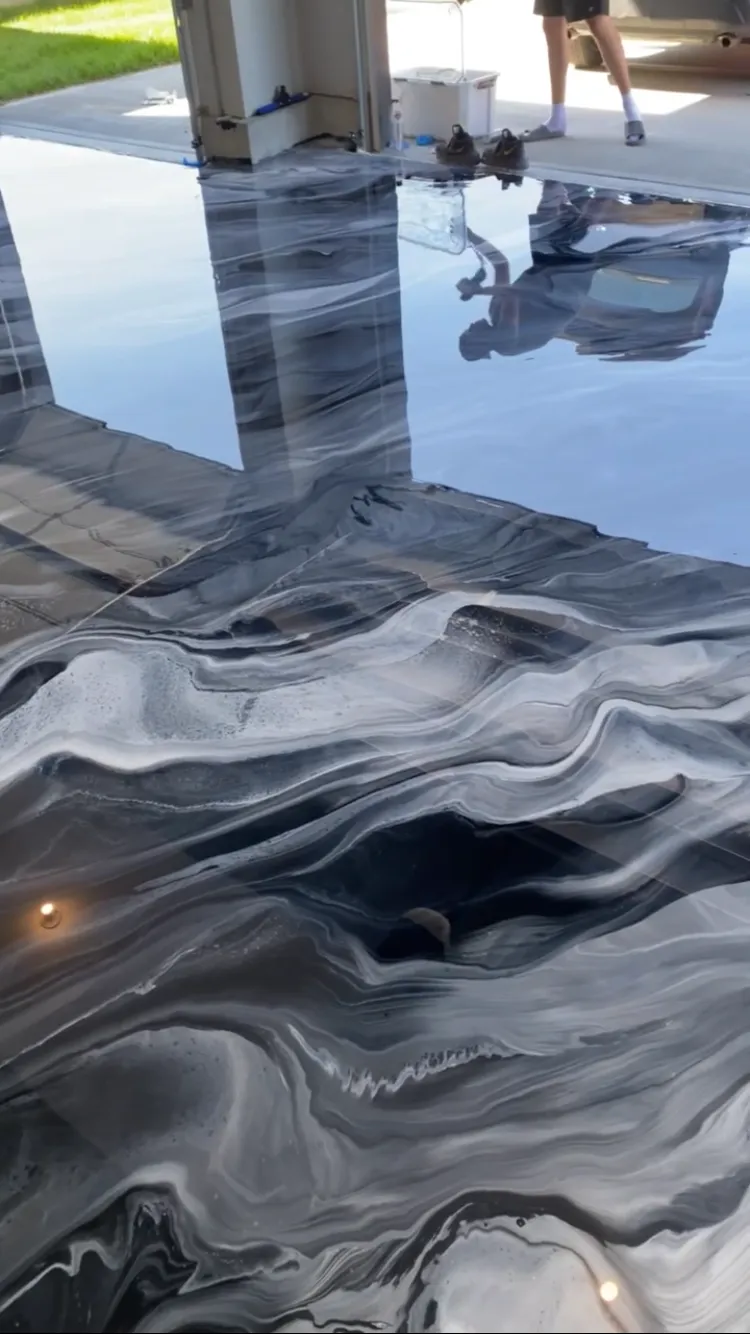
The final appearance of your epoxy-coated garage floor is also influenced by the preparation process. Proper preparation helps to create a smooth, even surface, free of imperfections and bubbles. This results in a more attractive and professional-looking finish. Skipping or rushing through the preparation steps can lead to visible flaws in the coating, detracting from the overall appearance of your garage floor.
Tools and Materials Needed for Preparing Your Garage Floor
Cleaning Supplies
To properly prepare your garage floor for epoxy coating, you'll need a variety of cleaning supplies. These include:
Degreaser: To remove oil stains and grease
Concrete cleaner: To clean the entire surface
Stiff-bristle broom: For scrubbing the floor
Pressure washer: For deep cleaning and rinsing
Using the right cleaning products is crucial for removing all contaminants from the concrete surface. This ensures that the epoxy can bond effectively with the concrete.
Repair Materials
Before applying the epoxy coating, you'll need to repair any cracks or holes in the concrete. The materials you'll need include:
Epoxy filler or patching compound: For filling cracks and holes
Putty knife or trowel: For applying the filler
Concrete patch: For larger repairs
Repairing the concrete surface is essential for creating a smooth and even base for the epoxy coating. This helps to prevent imperfections in the final finish.
Etching and Grinding Equipment
Etching and grinding are important steps in the preparation process. The equipment you'll need includes:
Concrete etching solution: To create a rough texture for better adhesion
Concrete grinder: For smoothing the surface and removing any existing coatings
Safety gear: Including gloves, goggles, and a mask
Etching and grinding help to open up the pores of the concrete, allowing the epoxy to penetrate and bond more effectively. This results in a stronger and more durable coating.
Step-by-Step Guide to Preparing Your Garage Floor for Epoxy Coating
Cleaning the Floor
The first step in preparing your garage floor for epoxy coating is to thoroughly clean the surface. Start by removing any loose debris and dirt with a broom or vacuum. Next, use a degreaser to remove any oil stains or grease spots. Apply the degreaser to the affected areas and scrub with a stiff-bristle broom. Rinse the floor with a pressure washer to remove all cleaning residues. Finally, use a concrete cleaner to clean the entire surface, ensuring that all contaminants are removed.
Repairing Cracks and Holes
Once the floor is clean, inspect it for any cracks or holes. These need to be repaired before applying the epoxy coating. Use an epoxy filler or patching compound to fill small cracks and holes. Apply the filler with a putty knife or trowel, smoothing it out to create an even surface. For larger repairs, use a concrete patch. Allow the filler or patch to cure according to the manufacturer's instructions before proceeding to the next step.
Etching the Concrete
Etching the concrete is an important step in the preparation process. This involves applying a concrete etching solution to the surface to create a rough texture. The rough texture helps the epoxy to bond more effectively with the concrete. To etch the concrete, mix the etching solution according to the manufacturer's instructions and apply it to the floor using a watering can or sprayer. Scrub the solution into the concrete with a stiff-bristle broom, then rinse thoroughly with a pressure washer. Allow the floor to dry completely before moving on to the next step.
Grinding the Surface
In some cases, grinding the surface may be necessary to remove any existing coatings or to smooth out rough areas. Use a concrete grinder to grind the surface, working in small sections to ensure even coverage. Wear safety gear, including gloves, goggles, and a mask, to protect yourself from dust and debris. After grinding, vacuum the floor to remove all dust and debris. This step helps to create a smooth and even surface for the epoxy coating.
Final Cleaning and Inspection
Before applying the epoxy coating, perform a final cleaning and inspection of the floor. Use a vacuum or broom to remove any remaining dust and debris. Inspect the floor for any missed spots or imperfections, and address any issues as needed. The floor should be completely clean and dry before applying the epoxy coating. This ensures the best possible adhesion and a flawless finish.
Common Mistakes to Avoid When Preparing Your Garage Floor
Skipping Surface Preparation Steps
One of the most common mistakes when preparing a garage floor for epoxy coating is skipping surface preparation steps. Each step in the preparation process is crucial for ensuring proper adhesion and a long-lasting finish. Skipping steps or rushing through the process can lead to poor adhesion, premature wear, and an unattractive finish. Take the time to follow each step thoroughly to achieve the best results.
Using Incorrect Materials
Using the wrong cleaning agents or repair materials can also lead to issues with the epoxy coating. For example, using a cleaner that leaves a residue can prevent the epoxy from bonding properly with the concrete. Similarly, using an inappropriate filler for cracks and holes can result in a weak and uneven surface. Always use high-quality products that are specifically designed for concrete preparation and epoxy application.
Ignoring Safety Precautions
Preparing a garage floor for epoxy coating involves working with chemicals and equipment that can be hazardous if not handled properly. Ignoring safety precautions can lead to accidents and injuries. Always wear protective gear, including gloves, goggles, and a mask, when working with cleaning agents, etching solutions, and grinding equipment. Follow the manufacturer's instructions for each product and take the necessary precautions to ensure your safety.
FAQs About Preparing Your Garage for Epoxy Coating
How long does it take to prepare a garage floor for epoxy coating?
The time required to prepare a garage floor for epoxy coating depends on the condition of the floor and the extent of the preparation needed. On average, the process can take anywhere from one to three days. This includes time for cleaning, repairing cracks and holes, etching or grinding the surface, and allowing the floor to dry completely.
Can I apply epoxy coating over an existing coating?
In most cases, it is recommended to remove any existing coatings before applying a new epoxy coating. This ensures proper adhesion and a long-lasting finish. However, if the existing coating is in good condition and well-adhered, you may be able to apply the new epoxy over it after thorough cleaning and light sanding. Always consult the manufacturer's instructions for specific guidance.
What should I do if my garage floor has moisture issues?
Moisture issues can prevent the epoxy from bonding properly with the concrete. If your garage floor has moisture problems, it's important to address them before applying the epoxy coating. This may involve installing a moisture barrier, improving drainage around the garage, or using a moisture-resistant epoxy product. Conduct a moisture test on the concrete to determine the extent of the issue and take appropriate measures to resolve it.
How do I know if my garage floor is ready for epoxy coating?
Your garage floor is ready for epoxy coating when it is completely clean, dry, and free of any contaminants or imperfections. Perform a final inspection to ensure that all cracks and holes have been repaired, the surface has been properly etched or ground, and there is no dust or debris remaining. The floor should have a slightly rough texture to ensure good adhesion.
Is professional preparation necessary, or can I do it myself?
While professional preparation can ensure a flawless finish, it is possible to prepare your garage floor for epoxy coating yourself with the right tools and materials. Follow the steps outlined in this guide and take the necessary precautions to achieve the best results. If you are unsure about any part of the process or if the floor requires extensive repairs, consider hiring a professional to ensure a high-quality finish.
Conclusion
Properly preparing your garage floor for epoxy coating is essential for achieving a durable, long-lasting, and attractive finish. By following the steps outlined in this guide, you can ensure that your epoxy coating bonds well with the concrete, extends the lifespan of the coating, and enhances the overall appearance of your garage floor. Take the time to thoroughly clean, repair, etch, and inspect the floor before applying the epoxy coating to achieve the best results.
For more information on epoxy coatings and professional installation services, visit Onyx Luxury Epoxy.
Upgrade your garage today with Onyx Luxury Epoxy and experience the difference!